From Local to Live: GitHub CLI on Windows & Netlify Deployment
- Brady Loenhart
- May 25, 2025
- 3 mins
- Technical Guides
- deployment devops git github netlify windows
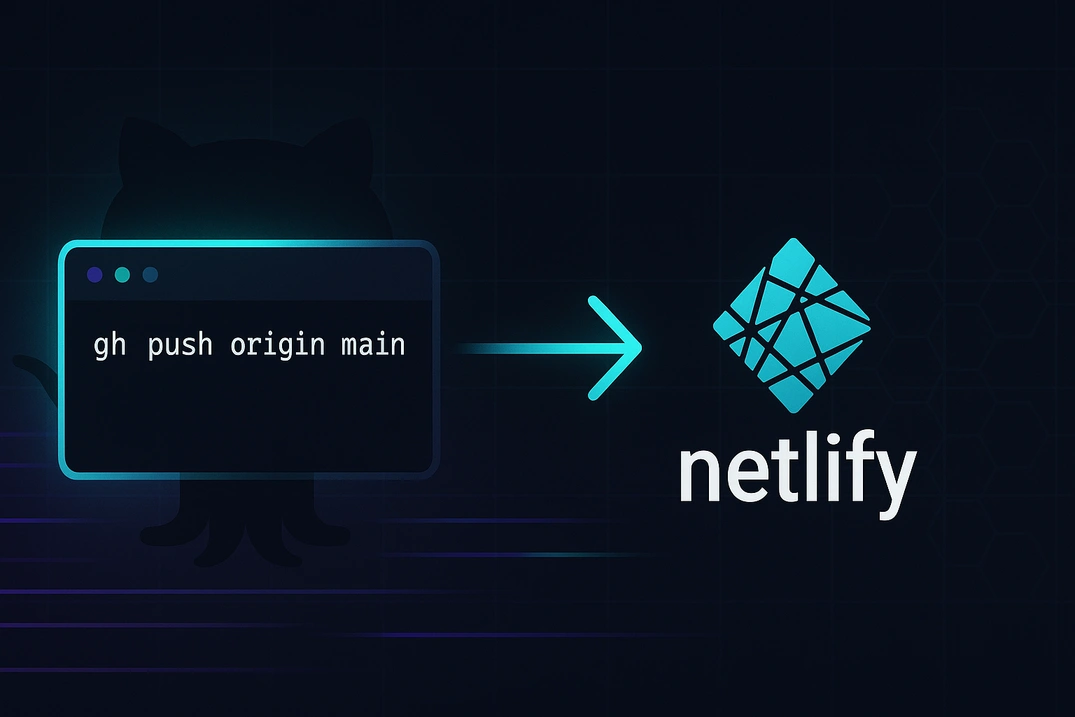
By the end of this article you’ll have a private GitHub repository linked to Netlify, with your project building and deploying automatically every time you push code.
Part 1: Installing GitHub CLI on Windows
GitHub CLI (gh) lets you manage almost everything from the terminal—repositories, issues, pull‑requests, and more—without opening a browser.
1.1 Install via Winget (recommended)
winget install --id GitHub.cliTip: No Winget? Grab the latest MSI installer from the releases page or use Chocolatey:
choco install gh.
1.2 Verify the install
gh --versionYou should see version info like gh version 2.52.0 (2025-05-20).
1.3 Authenticate once
gh auth loginSelect GitHub.com → HTTPS.
Allow gh to open your browser → Authorize → Back to terminal.
You’re now authenticated; tokens are stored securely in Windows Credential Manager.
Part 2: Create a Private Repository on GitHub
You can create repos in the browser, but CLI is quicker:
# From inside your project folder
gh repo create my-awesome-site --private --source . --remote origin--private→ repo is visible only to you & collaborators--source .→ current directory becomes the repo contents--remote origin→ sets the remote automatically
If you’re starting without any local files yet, skip --source . and let gh create an empty repo instead.
Part 3: Initialize Git Locally (if needed)
If git init hasn’t been run (e.g., a brand‑new Cursor project):
git init
git add .
git commit -m "Initial commit"
Optional but helpful:
# Make sure the default branch is `main`
git branch -M main
Part 4: Connect Local Repo to Remote
If you didn’t use gh repo create --source ., add the remote manually:
git remote add origin https://github.com/<your‑username>/<repo>.gitDouble‑check:
git remote -vPart 5: Commit & Push to GitHub
Regular workflow:
git add .                 # stage new/changed files
git commit -m "Describe the change"  # commit
git push origin main      # push to remote
If this is the first push and you get a hint about —set-upstream, run:
git push -u origin mainNow future git push commands will default to origin main.
Part 6: Deploy Your Private Repo to Netlify
Netlify’s Git integration works perfectly with private repos once you give permission.
6.1 Prepare Netlify
- Sign in at app.netlify.com (create a free account if you haven’t already)
- Click Add new site → Import an existing project
- Pick GitHub as the provider and authorize Netlify to access your private repos (one‑click OAuth)
6.2 Choose the repository & settings
- Select
<repo>from the list - Build command:
npm run build(orastro build,next build, etc.) - Publish directory: e.g.
distor.output/public—whatever your framework outputs - Click Deploy site
Netlify clones the repo, runs the build, and deploys it. Every subsequent git push triggers an automatic redeploy ✨.
6.3 Optional: Environment variables
If your build needs environment variables (API keys, etc.):
- In Site settings → Build & deploy → Environment add them
- Re‑deploy to pick up the new vars
Conclusion
You’ve gone from zero to:
- GitHub CLI installed and authenticated
- A private remote repo created
- Local project committed & pushed
- Continuous deployment configured on Netlify
Next time you code:
git add .
git commit -m "feat: amazing update"
git push
…and Netlify handles the rest. Enjoy your streamlined “local‑to‑live” workflow! 🚀